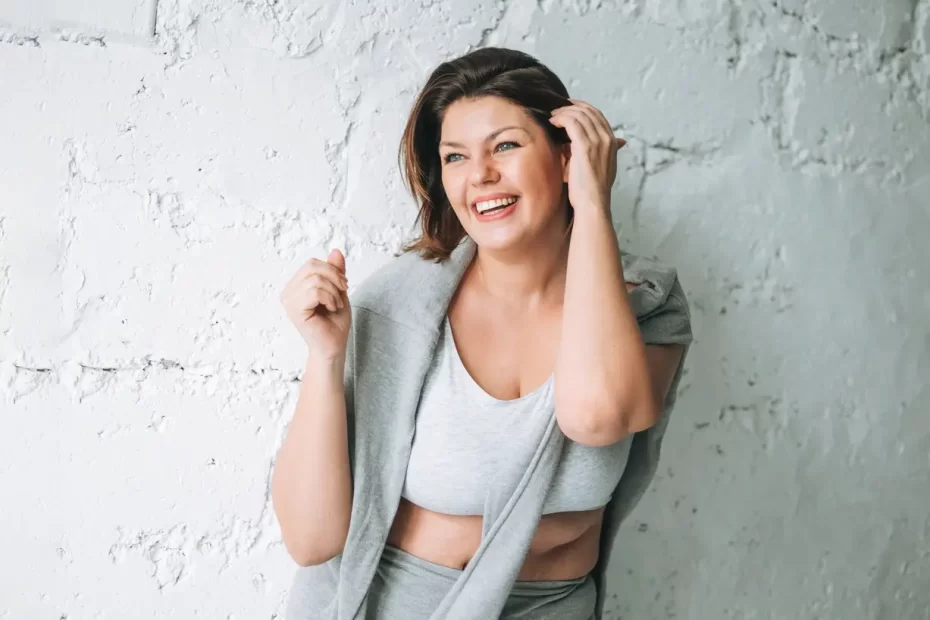
TikTok users likely noticed the recent popularity of Pilates wall workouts as they took to TikTok to post them at home, promising to strengthen and tone core muscles while improving balance. The workout promises results within 30 minutes!
Here are a few easy moves you can incorporate into a free pilates wall workout: 1. The Roll Down.
1. Shoulder Bridge
The Bridge Exercise is an indispensable staple of Pilates classes and provides a fantastic way to strengthen abdominal muscles, hamstrings and lower back. Additionally, it improves posture by increasing lumbar spine mobility while simultaneously opening chest and pinching shoulder blades together. Proper technique when practicing this exercise against walls will prevent injury to neck or lower back muscles while strengthening them further.
A classic form of the bridge begins by lying with your knees bent and feet on the floor hip-width apart, hips-width apart. Extend both arms out alongside your body with palms down. Inhale to lift pelvis and shoulders creating diagonal line from knee to heel; exhale again to open chest widen hips higher off ground until they align with knees and shoulders – holding this position for three deep breaths.
Attaining perfection when practicing bridge requires time and dedication. Since every individual differs, starting slowly may be best before building up to more challenging versions as your strength improves. If your lower back or hamstrings experience pain it might be wiser to decrease repetitions until your strength grows stronger; with time this number could change again as needed.
Bridging may prove challenging due to poor alignment or prior injury; in such instances, we suggest switching up their exercise regimen with equally beneficial exercises like single leg circles or rollovers that require less energy to complete.
2. Diamond Crunch
One of the classic Pilates core-strengthening moves, scissors requires your abs and obliques to work in unison to extend one leg at a time. From your back position, engage your core by lifting off of the floor until your shoulder blades rest atop the mat, then straighten your right elbow toward your left knee in a pedaling-like motion to create “pedaling.” Switch sides after each rep for complete one rep – this exercise makes for a great alternative to standard push-ups which place too much strain on wrists! Beginners can perform this exercise on their knees while padding their knees to decrease intensity and alleviate pressure from previous moves.
Try practicing wall diamond push-ups as an easier alternative to the incline version, to reduce arm load while simultaneously targeting chest muscles more directly than with its traditional form. This variation reduces arm fatigue by keeping your upper body elevated against a wall – and it also targets chest muscles more effectively!
3. Elevated Glute Bridge
Participating in wall Pilates exercises will strengthen and tone your glutes, hamstrings, core muscles and improve hip mobility and stability.
Before beginning, lie on a mat with your feet up against a wall about hip-width apart and press into it with both feet to raise your hips off of the ground and squeeze your glutes, without arching your back at the top of your bridge pose. Hold for several seconds before gradually lowering them back down onto the floor.
Add an extra challenge by keeping one leg elevated at the top of your bridge, using a weighted plate or adding loop resistance bands just below your knees for increased difficulty.
This variation of a traditional bridge may prove challenging for those with tight hamstrings, yet is an excellent alternative to more difficult or injury-causing exercises such as lunges and jumps. Furthermore, using the wall for guidance forces proper knee and ankle alignment that would otherwise be more difficult to attain on its own.
Begin in a high plank position, with both feet pressing into a wall approximately mat-width apart. Raise your hips off the floor while simultaneously squeezing your glutes to maintain an inline between shoulders and knees. Raise right foot onto wall while reaching back behind you to tap outside ankle/shin with left hand. Repeat on both sides, doing 10 reps on each.
4. Knee-to-Chest Crunch
This easy yet effective exercise targets both abs and lower back, providing an additional challenge to core muscles by keeping one leg straight while pressing against the floor with another leg extending towards knee. Plus you get some oblique work as you twist each elbow towards opposite knee for extra oblique work!
The knee-to-chest crunch is an effective way to alleviate lower back pain, particularly for those suffering with tight glutes or hamstrings. You can perform it as a standalone stretch or add it into the beginning or end of your workout; beginners and more advanced pilates practitioners alike will find this exercise challenging!
To perform the single knee-to-chest crunch, lie on your back with both knees bent and feet flat on the ground. Gently raise one knee toward your chest for between 15 and 20 seconds before returning back down into its starting position and repeating on the opposite leg.
Exercise should not cause pain or discomfort for most people; listen to your body and don’t overdo it. If any discomfort arises during or after exercising, stop immediately and take a break before continuing with any physical activities.
A single knee-to-chest crunch can provide immediate relief from lower back pain, stiff hips, improve balance and flexibility as well as reduce risk of back injury by stretching out muscles and creating more space within your spine. Furthermore, this exercise may even help alleviate issues like tingling/numbness in both back and legs by improving circulation.
5. Calf Raise
Standing calf raises are a classic exercise to target your gastrocnemius and soleus muscles that connect to the Achilles tendon. These muscles play a pivotal role in lower body strength and movement including running, jumping, climbing stairs and stability and balance; not to mention helping prevent foot or ankle injuries for those who do not regularly stretch or foam roll their calves or feet.
For the standing calf raise, stand with feet shoulder-width apart and knees slightly bent with toes pointed forward, using walls, poles or other sturdy objects as support if necessary for balance.
Your knees should remain bent softly, your back straight and shoulders pulled in toward your spine so as to prevent rounding or arching backward during movement. Lift heels slowly off of the ground at first to create a contraction in your calves before gradually lowering them until they touch down once more with control.
Calf raises can be performed using your body weight alone or with the addition of dumbbells in each hand. For best results, start with light weights and gradually build them up until you can manage multiple sets of reps at a weight you can handle while still maintaining proper form throughout each set.
Calf raises are an isolation exercise that targets only one muscle group, so they should only be done sparingly as part of an overall plan targeting multiple joints in your legs and feet, such as wall lunges or downward dog, according to Baston. He advises taking time out after each training session for stretching or foam rolling your legs so as to prevent overtraining your calves which could result in tightness and soreness.


